There’s nothing worse than arriving at the airport, especially when you’re running a little late, and discovering a massive security line. Or landing after a long international flight, exhausted and ready to get home, only to find hundreds of passengers waiting to clear immigration.
 I’ve been traveling for over three decades and have learned that one of the easiest ways to make flying less stressful is to take advantage of programs designed to help travelers get through airports faster. Some cost money, others are free and a few can save you a surprising amount of time.
The trick is knowing which programs to use and when. TSA PreCheck, Global Entry, CLEAR and Mobile Passport Control all serve different purposes, and travelers often confuse them. There’s also a newer option called TSA PreCheck Touchless ID that I’ve become a huge fan of after using it at several airports.
Here are five programs worth knowing about before your next trip, including one that won’t cost you a penny.
 1. TSA PreCheck: A must-have for frequent flyers
 1. TSA PreCheck: A must-have for frequent flyers
If you fly regularly, TSA PreCheck is one of the best investments you can make. Approved travelers can use dedicated security lanes at participating U.S. airports, where they generally don’t have to remove their shoes, belts or light jackets. Laptops and compliant liquids can also usually stay inside carry-on bags.
Not only does this save time, but it makes the entire airport experience less stressful. I can’t tell you how many times I’ve walked past a long regular security line and been thankful to have TSA PreCheck.
Of course, it’s not always faster. I’ve occasionally seen TSA PreCheck lines longer than the regular security line, especially during busy business travel periods. But in my experience, it’s usually a significant timesaver.
One important thing to remember is that your boarding pass must display the TSA PreCheck indicator. Even if you’re enrolled, you won’t be allowed into the dedicated lane if the indicator isn’t there. Make sure your Known Traveler Number is saved in your airline reservations and frequent flyer profiles.
Cost: Starts at $76.75 for five years.
 2. Global Entry: The best option for international travelers
 2. Global Entry: The best option for international travelers
If you travel internationally, Global Entry is one of my favorite programs. It allows preapproved, low-risk travelers to use expedited processing when returning to the United States at participating airports.
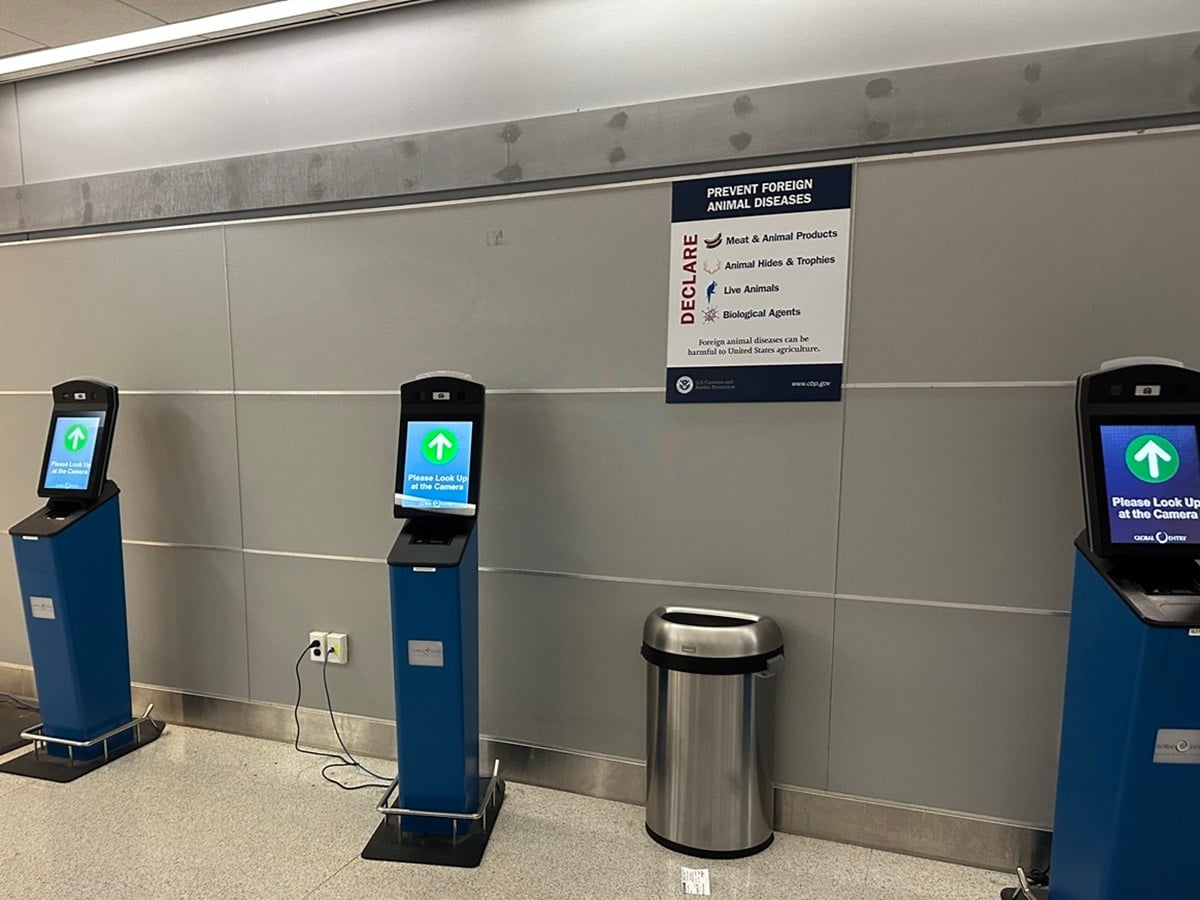
Instead of waiting in the regular immigration line, Global Entry members can use dedicated processing technology, including facial recognition at many locations, to verify their identities. It’s especially helpful when multiple widebody aircraft arrive around the same time and thousands of passengers are trying to clear immigration.
Global Entry costs $120 for five years and includes TSA PreCheck eligibility, which makes it an excellent value. In fact, if you qualify for Global Entry and travel internationally, I generally recommend applying for it instead of purchasing TSA PreCheck separately.
One downside is that Global Entry requires an application, background check and interview. Some travelers receive conditional approval relatively quickly, while others wait much longer.
My tip: If you’ve been conditionally approved but can’t find an interview appointment, check out my guide on how to quickly find Global Entry, NEXUS and SENTRI appointments. You can also look into Enrollment on Arrival, which allows eligible travelers to complete their interview at participating airports when returning from an international trip.
Cost: $120 for five years.
 3. Mobile Passport Control: The free airport timesaver more travelers should know about
 3. Mobile Passport Control: The free airport timesaver more travelers should know about
This might be the most underrated airport timesaver on the list. Mobile Passport Control (MPC) is a free app from U.S. Customs and Border Protection that can help eligible travelers get through immigration faster when returning to the United States.
Unlike Global Entry, MPC doesn’t require a background check, interview or membership fee. All you need to do is download the official app, create a profile and follow the instructions when arriving at a participating airport or using a supported U.S. preclearance facility overseas.
The app allows eligible travelers to submit their passport or other qualifying travel document information, photo and customs declaration details electronically. Once submitted, travelers follow the instructions at their arrival location and present their physical travel documents to a CBP officer.
The beauty of MPC is that it can sometimes be just as fast as Global Entry, depending on the airport and how many travelers are using it. I’ve heard from people who have breezed through immigration using MPC while others waited in much longer lines.
Of course, there’s no guarantee. Dedicated MPC lanes aren’t always available, and airport procedures can change depending on staffing and passenger volume. But considering the app is completely free, there’s really no reason for eligible travelers not to have it ready.
How to use Mobile Passport Control
Download the official app (available for iPhone and Android) before your trip and create your profile. You can enter your travel document information in advance, so you won’t have to start from scratch when you land.
When you’re ready to use the app, select your arrival airport or participating preclearance location, take the required photo and answer the customs declaration questions. You’ll need an internet connection to submit your information.
Once you’ve submitted everything, follow the airport’s instructions for MPC travelers. You’ll still need your physical passport or other required travel documents. One feature I particularly like is that eligible family members traveling together can be included in the same submission, up to the app’s permitted limit. Anyone who’s traveled internationally with young kids knows that the fewer lines and hassles you encounter, the better.
MPC is available to eligible U.S. citizens, lawful permanent residents, Canadian B1/B2 visitors and returning Visa Waiver Program travelers with an approved ESTA.
Cost: Free.
Bonus tip: Use Mobile Passport Control at U.S. preclearance airports
Many travelers don’t realize that they can clear U.S. immigration before even boarding their flight home. The United States operates preclearance facilities at select international airports, including Toronto, Vancouver, Montreal, Dublin, Shannon, Aruba, Bermuda, Nassau and Abu Dhabi. I’ve used preclearance in all of these places but Abu Dhabi and it’s fantastic. You go through U.S. immigration before boarding, which means that when you land in the United States, you generally arrive just like a domestic passenger.
Mobile Passport Control is available at participating preclearance locations, so check whether your airport supports it before your trip.
 4. CLEAR: Skip the regular identity-check line
 4. CLEAR: Skip the regular identity-check line
CLEAR is another program I use, although it’s important to understand that it works differently from TSA PreCheck. While TSA PreCheck provides expedited security screening, CLEAR+ is a private membership service that uses biometric identity verification to help travelers bypass the traditional identity-check line at participating airports.
After verifying your identity, you still have to go through TSA security screening. If you have both CLEAR and TSA PreCheck, you can combine the two for an even faster experience.
I finally signed up for CLEAR after years of debating whether it was worth the money. You can read about why I finally signed up for CLEAR.
However, CLEAR isn’t always the fastest option. I’ve been to airports where the CLEAR line was longer than the regular TSA PreCheck line, so I always compare the two before deciding which one to use.
Another thing to consider is that CLEAR isn’t available at every airport or terminal. Check its website before your trip to see whether your departure airport offers the service.
Cost: CLEAR+ costs $219 annually, but there are ways to pay less or even get it for free. Delta SkyMiles and United MileagePlus members can qualify for discounted rates, with additional savings for elite members. Some top-tier elites even receive complimentary memberships. Several American Express cards, including the Platinum Card, Business Platinum Card, Green Card and Hilton Honors Aspire Card, offer up to $219 in annual CLEAR+ statement credits, potentially covering the entire fee. Personally, I only use CLEAR because my credit card covers the membership. While it’s nice to have, I don’t think I’d pay $219 out of pocket, especially since TSA PreCheck and Touchless ID are often just as fast, if not faster.
5. TSA PreCheck Touchless ID: My new favorite airport timesaver
 5. TSA PreCheck Touchless ID: My new favorite airport timesaver
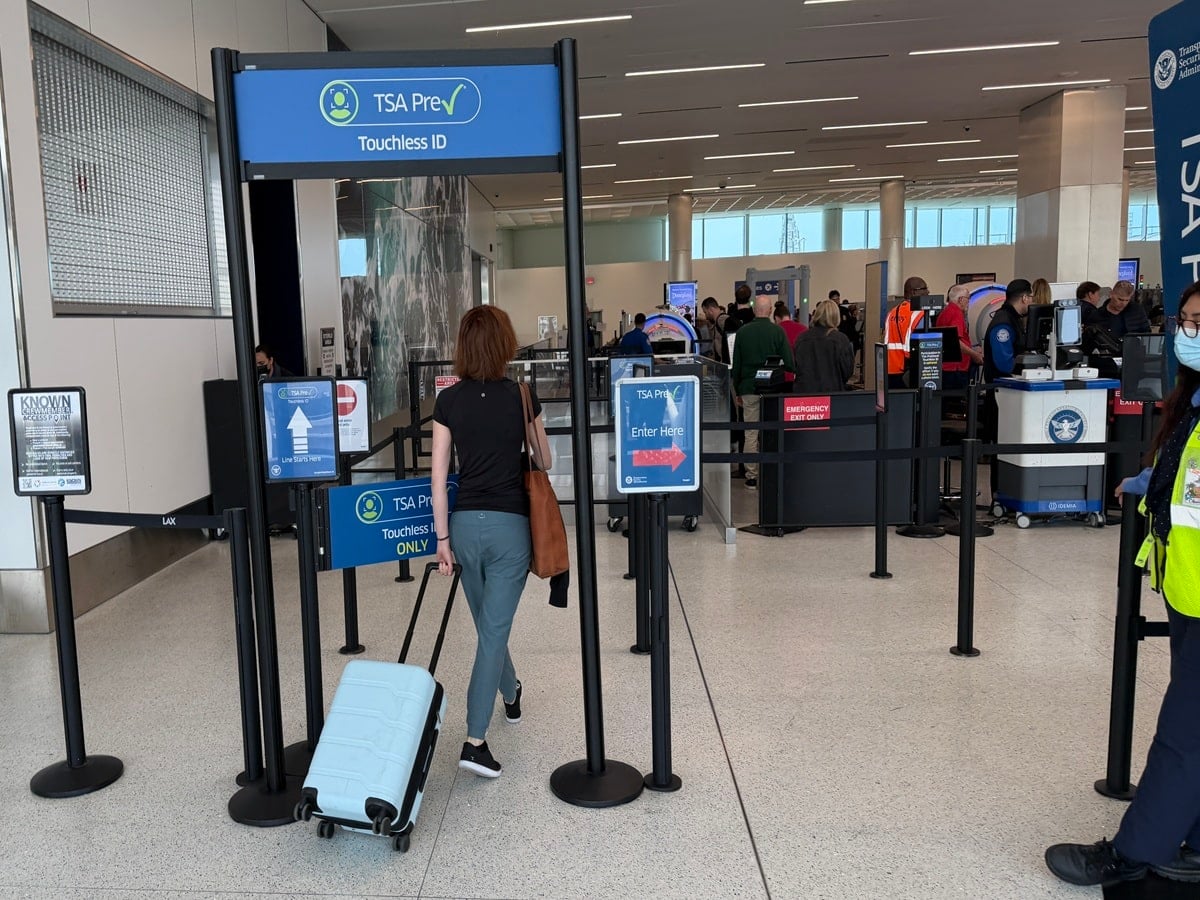
This is the newest addition to my airport routine, and I’ve become a big fan. TSA PreCheck Touchless ID uses facial recognition technology to verify eligible travelers’ identities at participating airport security checkpoints. Instead of having to present your physical ID during the normal identity-check process, you can simply look into a camera and have your identity verified.
I’ve used Touchless ID at Los Angeles International Airport (LAX), Las Vegas (LAS), Miami (MIA), Seattle (SEA) and Chicago O’Hare (ORD), and each experience has been incredibly quick.
 On one recent trip through O’Hare, I breezed through the Touchless ID process while my wife, who wasn’t enrolled, had to use the regular TSA PreCheck line. Her wait was around 20 minutes (see photo above), which made me appreciate the program even more.
To use Touchless ID, you need to be enrolled in TSA PreCheck, fly on a participating airline and opt in to the service. You’ll also need to have the appropriate Touchless ID indicator on your boarding pass.
Participating airlines include American, Delta, United, Southwest, Alaska and Hawaiian, although availability depends on the airport and airline.
And don’t forget to bring your physical ID. Even though Touchless ID can eliminate the need to show it during routine verification, TSA can still request it. I always carry my passport when I travel.
Cost: No additional fee for eligible TSA PreCheck travelers.
Which airport program should you choose?
Here’s how I look at it. If you mostly fly domestically, TSA PreCheck is a great starting point. If you regularly travel internationally, Global Entry is an even better investment because it includes TSA PreCheck eligibility.
If you don’t want to spend any money, download Mobile Passport Control. It won’t help you get through airport security before your flight, but it can make a big difference when clearing U.S. immigration after an international trip.
CLEAR is worth considering if you frequently fly through airports where it’s available, especially if you can get a discounted membership. And if you already have TSA PreCheck, I highly recommend checking whether you’re eligible for Touchless ID.
One final piece of advice: Don’t assume the fastest line will always be the same. Airport staffing, flight schedules and the number of travelers using these programs can change throughout the day. I always pay attention to which lines are moving fastest and adjust accordingly.