

This article was produced in partnership with TESSAN and contains affiliate links. We may receive compensation if you click on or make purchases through those links.
International travel isn’t what it used to be, thanks to technology. It’s so much easier these days, especially if you do a little homework and set everything up before leaving home. After decades of traveling around the world, I’ve developed a pretty specific routine before every international trip. Some of these things take only a few seconds, but they can save you time, money and major headaches once you’re overseas.
Here’s my international travel checklist, in roughly the order I do everything.
Before your trip
1. Check for local and bank holidays
I always check whether any of our destinations will be celebrating a national, regional or bank holiday while we’re there. A holiday can mean banks, supermarkets, attractions and restaurants are closed or operating on reduced hours. This is especially important if you’re staying in an Airbnb and planning to buy groceries. You don’t want to arrive hungry only to discover the supermarket is closed for a holiday you didn’t know existed.
It can also work in your favor since you might discover there’s a festival, parade or other special event happening while you’re there.
2. Research the apps you’ll need
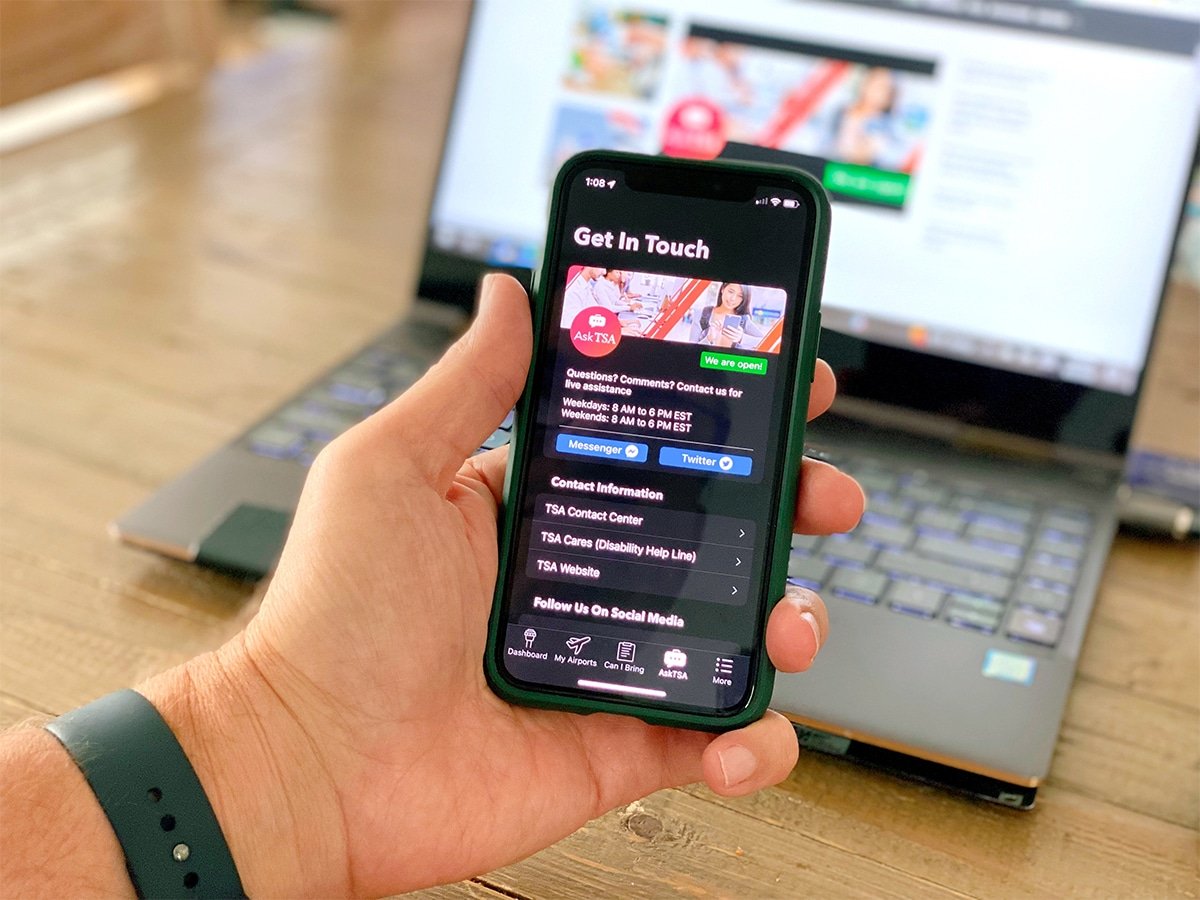
Don’t wait until you land to figure out which apps everyone uses at your destination. I research local transportation apps, train apps, rideshare services, airline apps and messaging apps such as WhatsApp.
Download them and create your accounts at home. It’s much easier to enter credit card information and verify your phone number while you’re connected to your home network.
3. Download your airline’s app
Make sure you have your airline’s app installed and that you’re logged in. It’s usually the fastest way to check in, access your boarding pass, receive delay and cancellation notifications, change seats and sometimes rebook yourself when things go wrong.
If you’re flying multiple airlines, download all of their apps and make sure your profile is set up with your passport information and Known Traveler Number (KTN), if you have TSA PreCheck or Global Entry, saved to your account.
4. Figure out your international phone plan
Don’t wait until you land to figure out how your phone is going to work. Check your carrier’s international roaming options before you leave and research eSIMs, which can be much cheaper than using your regular carrier’s international plan. Know what you’ll pay for calls, texts and data and make sure you understand how to activate everything before you go. RELATED: Here’s how I use my phone in Europe without getting hit with expensive roaming charges.
5. Check your credit cards
Make sure you’re traveling with a credit card that doesn’t charge foreign transaction fees. I also make sure my cards are loaded into Apple Pay since contactless payments are ubiquitous in many countries. And don’t travel with just one card. I like having a back-up stored separately in case my primary card is lost, stolen or declined.
6. Check the exchange rate
Before leaving, I look up the current exchange rate so I have a rough idea of what things cost. You don’t have to do math every time you buy a cup of coffee but knowing approximately how much 10, 50 or 100 units of the local currency are worth in dollars can help keep your spending in perspective.
One of my most important money tips: When a credit card terminal or ATM asks whether you want to pay in U.S. dollars or the local currency, choose the local currency. Choosing dollars can trigger dynamic currency conversion and usually gives you a less favorable exchange rate.
7. Think about what you’re posting on social media
I love social media and it’s a great resource for planning a trip. I’ll ask friends on Facebook for recommendations on places to eat, things to do and attractions we shouldn’t miss. What I don’t recommend is publicly announcing exactly when you’re leaving or how long your house will be empty. You don’t need to broadcast in real time that you’re thousands of miles from home. You can always share your photos and stories after you return.
A few days before departure
8. Check the weather
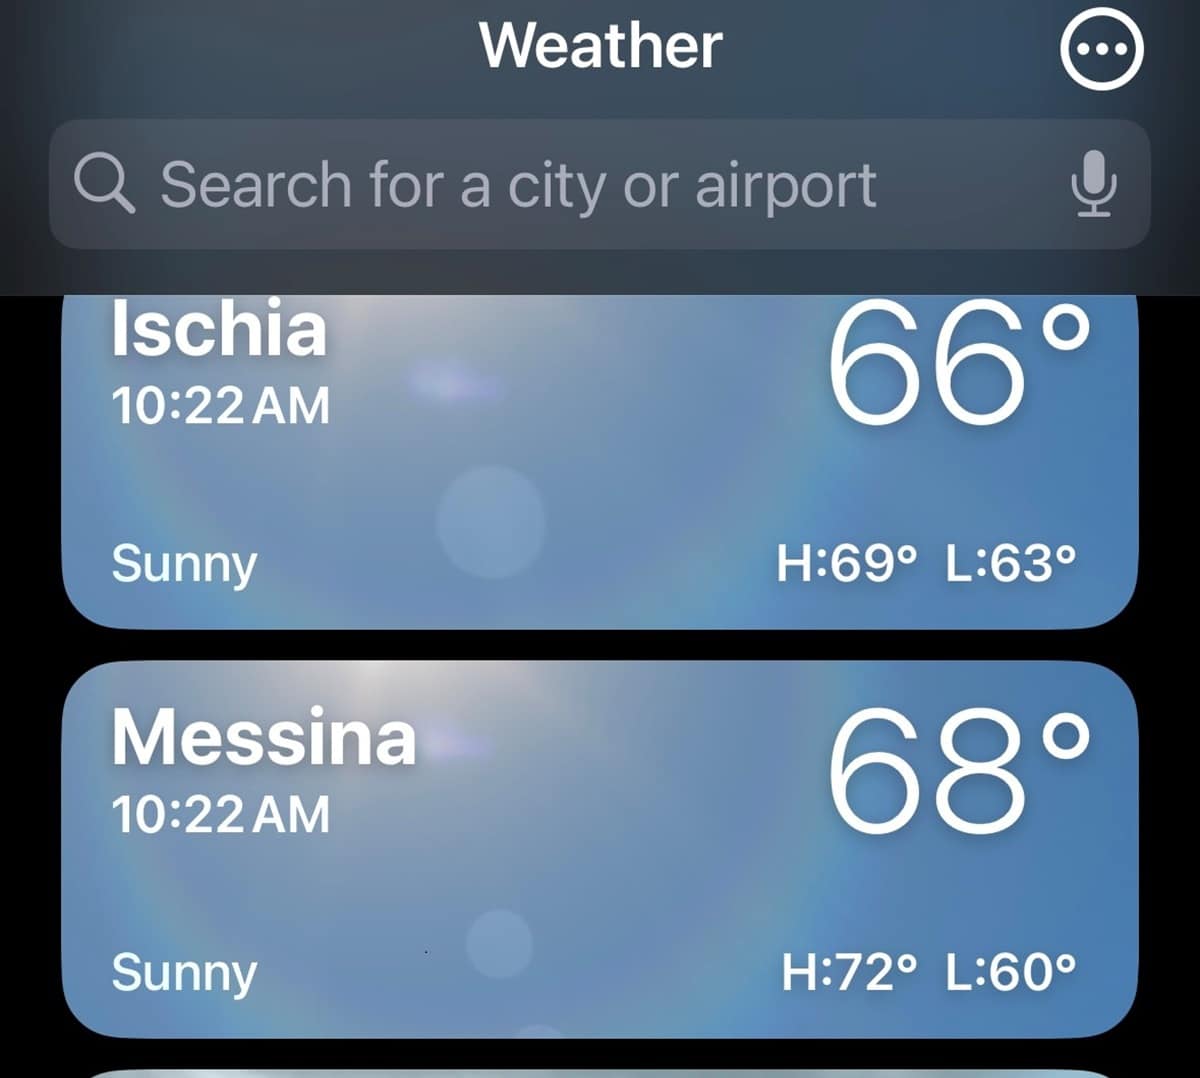
I check the weather when I start packing and then again right before we leave. I also add all the cities we’re visiting to my weather app so I can quickly check the forecast throughout the trip. Don’t just look at the temperature. Check for rain, wind, humidity and any major weather systems that could affect your flights or plans.
This helps you pack appropriately and prevents you from arriving with shorts and T-shirts when you really needed a rain jacket and sweater.
9. Download offline maps
Google Maps and Apple Maps can be lifesavers overseas, but don’t assume you’ll always have a good cellular connection. Download maps for the cities and regions you’ll be visiting so you can still navigate if you lose service.
10. Download Google Translate and the languages you’ll need
Google Translate is one of my favorite tools overseas. Download the languages you’ll need so they work offline. The camera translation feature can also be incredibly helpful for menus, signs and instructions.
11. Save digital copies of important documents
I keep secure digital copies of important documents, including my passport, itinerary and travel confirmations. I also take screenshots of information I might need quickly. Don’t assume you’ll have Wi-Fi or cellular service at the exact moment you need something.
12. Download your hotel or Airbnb information
This is especially important if you’re staying in an Airbnb. Make sure you have the exact address, host’s contact information, check-in instructions and directions for getting inside downloaded or saved as screenshots. The last thing you want is to arrive after a long flight and discover you can’t access the instructions because you don’t have a signal.
13. Update your devices and apps
A few days before departure, I check for software updates on our phones, tablets, watches and important travel apps. I don’t like doing major updates the night before a trip. Do them early enough that you have time to make sure everything still works properly afterward.
14. Make sure your passwords and two-factor authentication will work
International travel isn’t the time to discover you can’t remember an important password. Make sure your password manager is synced and accessible from your devices. Also think about two-factor authentication. If your bank, airline or another important service sends a verification code to your U.S. phone number, make sure you’ll still be able to receive it overseas.
15. Free up storage on your phone
Few things are more frustrating than trying to take a great photo or video and discovering your phone is full. Before a big trip, I go through photos, videos and downloads and make sure I have plenty of available storage. I also confirm that my photos are being backed up.
16. Turn on Find My and pack Apple AirTags
If you’re an Apple user, make sure Find My is enabled for your iPhone, iPad, AirPods and other compatible devices. I also put Apple AirTags in our luggage. They’re especially useful with checked bags because you can often see whether your suitcase made it onto the plane and where it is if it didn’t. An AirTag doesn’t replace the airline’s baggage-tracking system, but it can provide another valuable piece of information when something goes wrong.
17. Check your luggage tags
I don’t recommend putting your home address on a luggage tag where anyone walking through the airport can see it. On the outside of my luggage, I use my name and phone number. Inside the bag, I put more complete contact information. That way, if the exterior luggage tag gets ripped off, there’s still a way for the airline to identify the bag and contact me.
The night before your trip
18. Download entertainment
Never assume the airplane Wi-Fi is going to work. Before a long flight, we download movies, TV shows, games, podcasts and books. This becomes even more important when you’re traveling with kids.
19. Add boarding passes and tickets to your phone
Whenever possible, I add boarding passes, train tickets and other digital tickets to Apple Wallet. For particularly important tickets and confirmations, I’ll take a screenshot as another backup.
20. Charge everything
The night before a trip, I charge everything: iPhones, iPads, Apple Watches, AirPods, fans and portable chargers. With a family, that’s a lot of devices. I also make sure all of our cables and chargers are packed and working.
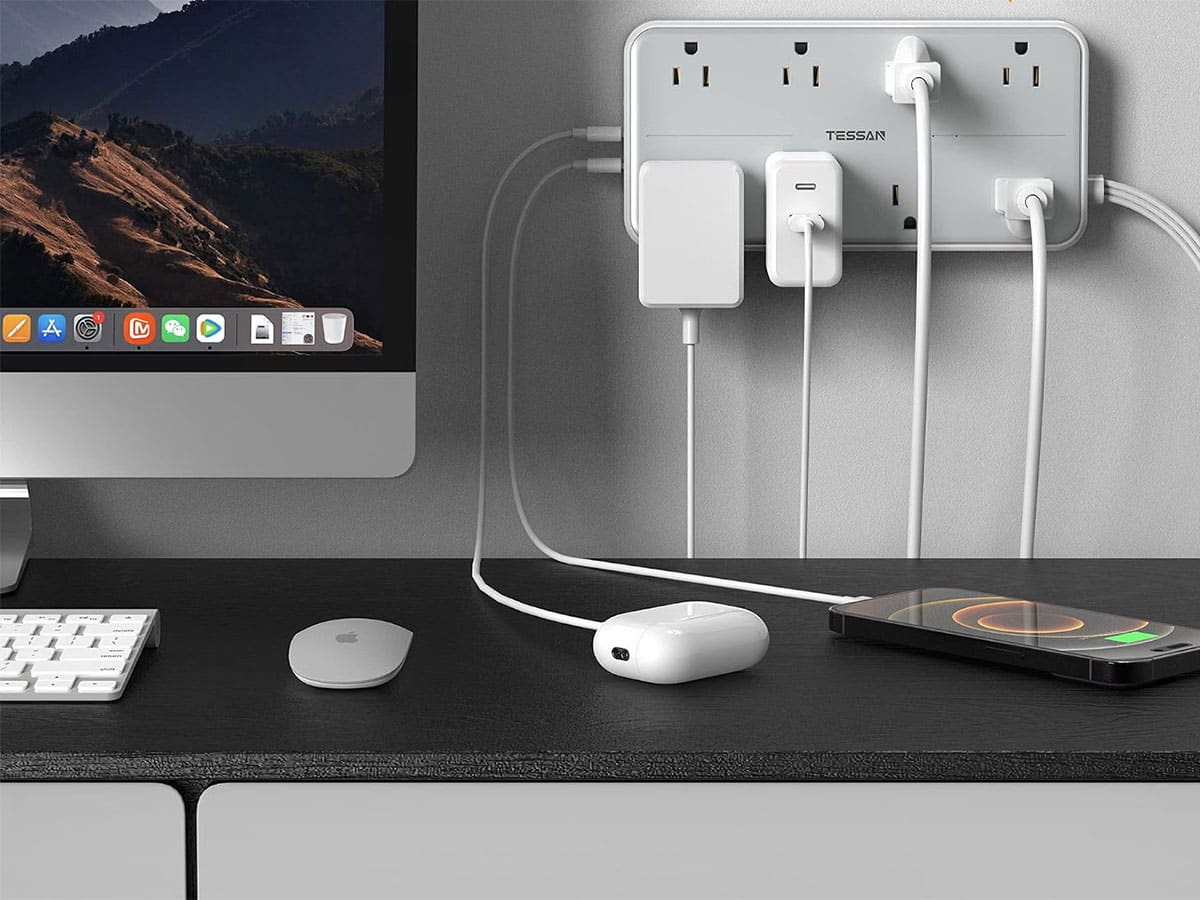 One thing that makes this much easier is traveling with a multi-port charger. I use a TESSAN power strip that lets me plug several devices into one outlet at the same time, which is especially helpful in older hotels or Airbnbs where outlets can be scarce. Instead of everyone fighting over the one convenient outlet next to the bed, we can charge multiple phones, watches, iPads and other devices from one spot.
 21. Pack the correct power adapters
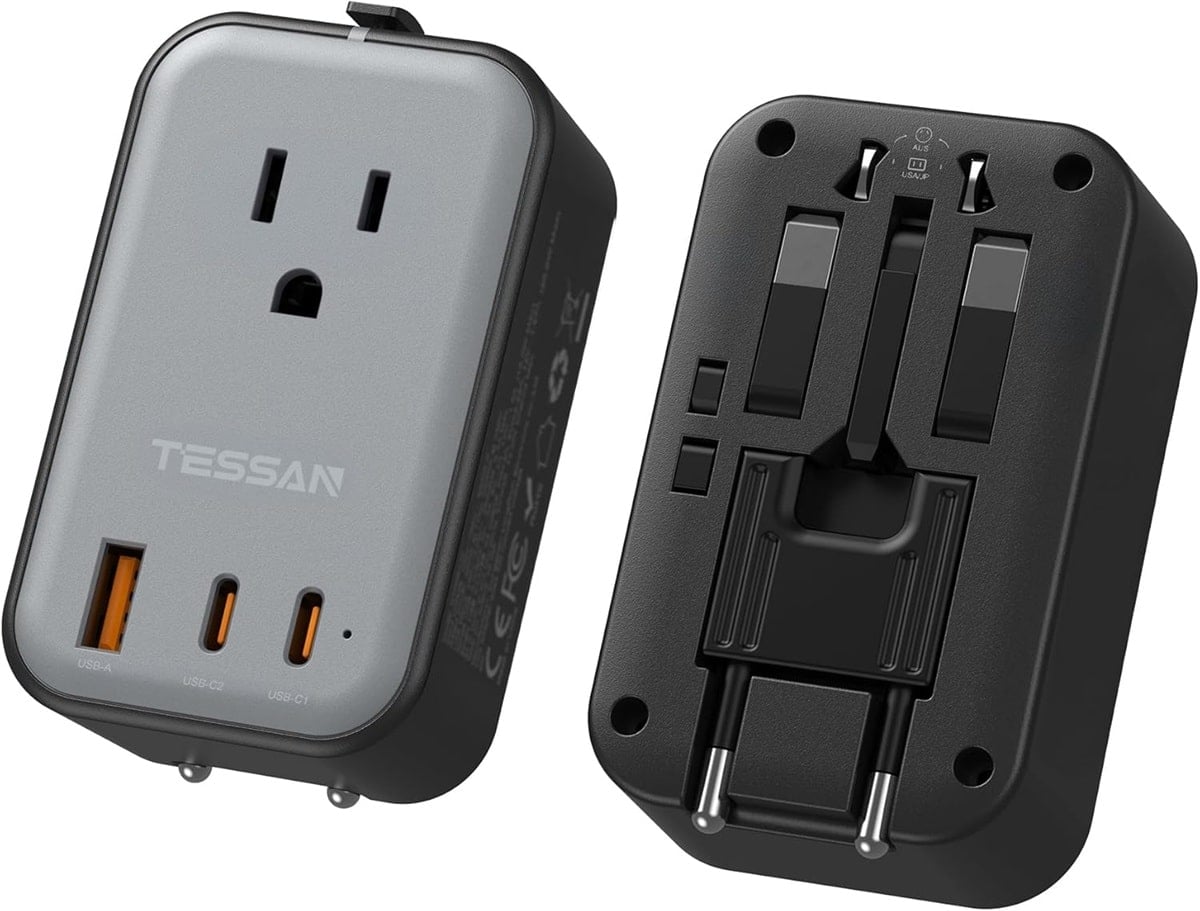
Check what type of electrical outlets your destination uses before you leave. If you’re visiting several countries, a universal travel adapter can make things much easier. I travel with these international adapters because they work in multiple countries and include USB ports, allowing us to charge several devices at once without packing a bunch of separate adapters.
Just remember that a plug adapter and a voltage converter aren’t the same thing. An adapter allows your plug to fit into a different type of outlet, but it doesn’t necessarily change the voltage. Many modern electronics accept 100-240V, but always check your device before plugging it in.
 22. Pack a portable charger
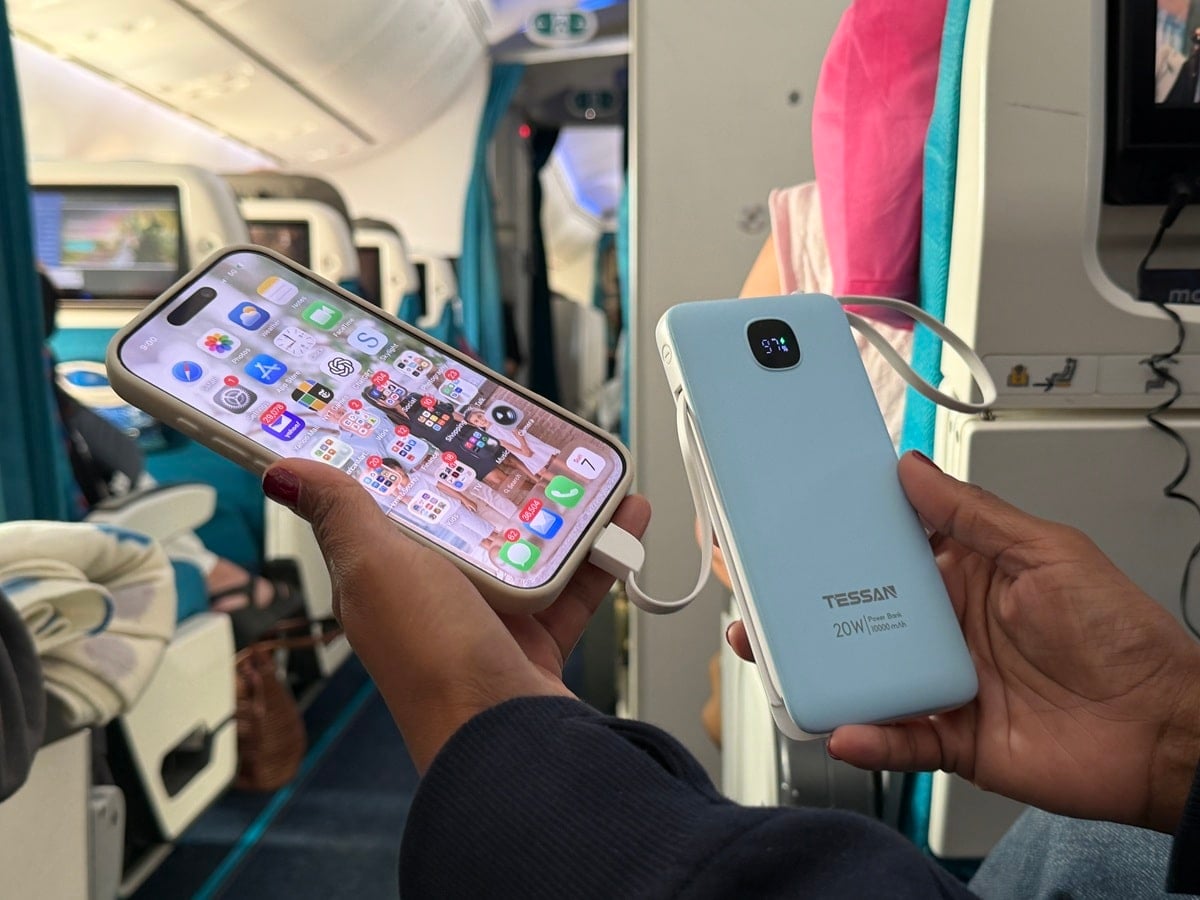
Your phone is now your boarding pass, map, camera, translator, wallet and communication device, so running out of battery overseas is more than just an inconvenience. That’s why I almost always travel with a portable charger.
I’ve also been using TESSAN portable chargers because they’re compact enough to toss in my carry-on or day bag and give me an easy way to top off my phone when I’m sightseeing, navigating a new city or spending a long day in airports and airplanes. With as much as we rely on our phones when we travel, having backup power is something I consider essential rather than optional.
Before you walk out the door
23. Do one final tech check
Before we leave home, I do a quick mental checklist or ask my wife these questions:
- Phones charged? Check.
- Portable chargers packed? Check.
- Passports? Definitely check.
- AirTags working? Check.
- International cellular plan ready? Check.
- Offline maps downloaded? Check.
- Power adapters and cables packed? Check.
A little preparation goes a long way
Technology has made international travel considerably easier, but I’ve learned never to depend on everything working perfectly. Your phone can now replace a map, phrasebook, boarding pass, train ticket, wallet and even your hotel key. That’s incredibly convenient until your battery dies, you lose service or an app won’t load.
That’s why I try to set everything up before leaving home, download anything I might need offline and always have a backup plan. I even bring my old iPhone with me as a backup in case, God forbid, my primary phone breaks, gets lost or is stolen.
Spending 30 minutes preparing your tech before an international trip can save you hours of frustration once you’re thousands of miles from home.


If you can, turn off the water coming into the house. It alleviates burst pipe water problems and indoor floods..
Johnny Jet, you forgot something else you always do:
make sure your gas stove including burners are turned off. LOL
True!