This article has been produced in partnership with TESSAN. JohnnyJet.com may earn a commission on purchases made through the links below.
Airports have changed a lot in just the last few years. Your face can now be your ID at some security checkpoints. Water-bottle filling stations, family lounges and dedicated workspaces are easier to find. And because just about everything we do at the airport involves a phone (boarding passes, airline apps, rebooking, rideshares, entertainment and communication), keeping your devices charged every step of the way has become almost as important as remembering your passport.
The old airport strategy of arriving early, finding your gate and sitting there until boarding isn’t really how things work anymore. Here’s my 2026 playbook for navigating the modern airport with less stress.
1. Get Your Digital Travel Life in Order Before You Leave Home
Digital IDs and facial recognition are quickly becoming part of the airport experience. And travelers seem ready for the shift: A 2025 U.S. Travel Association/Ipsos survey found that 81% of Americans support TSA’s use of biometrics and 83% support CBP’s use of the technology. U.S. Travel says facial biometric identity checks take just seconds and have an accuracy rate of more than 98%. The survey also found that support grows when travelers are informed about privacy safeguards.
That’s important because this technology isn’t just about shaving a few minutes off the security line. U.S. Travel has made modernizing the airport experience, including digital IDs, e-gates and biometric screening, a major priority as the U.S. prepares for huge international events like the 2028 Olympics.
One program to know about: TSA PreCheck Touchless ID. Eligible PreCheck travelers flying participating airlines can opt in and use facial recognition to verify their identity in a dedicated lane. TSA says you need a current TSA PreCheck membership, valid passport and active profile with a participating airline, and you’ll need to enter your Known Traveler Number and passport information and opt in. TSA also says photos captured for Touchless ID are deleted after use and aren’t shared or used for law enforcement or surveillance.
And don’t forget REAL ID. Since May 7, 2025, TSA no longer accepts non-REAL-ID-compliant state driver’s licenses as standard identification at airport checkpoints. Travelers 18 and older need a REAL ID-compliant license or another acceptable form of ID, such as a passport. I still travel with my physical ID and passport, even when I’m planning to use a digital or biometric option. Technology is great right up until it isn’t.
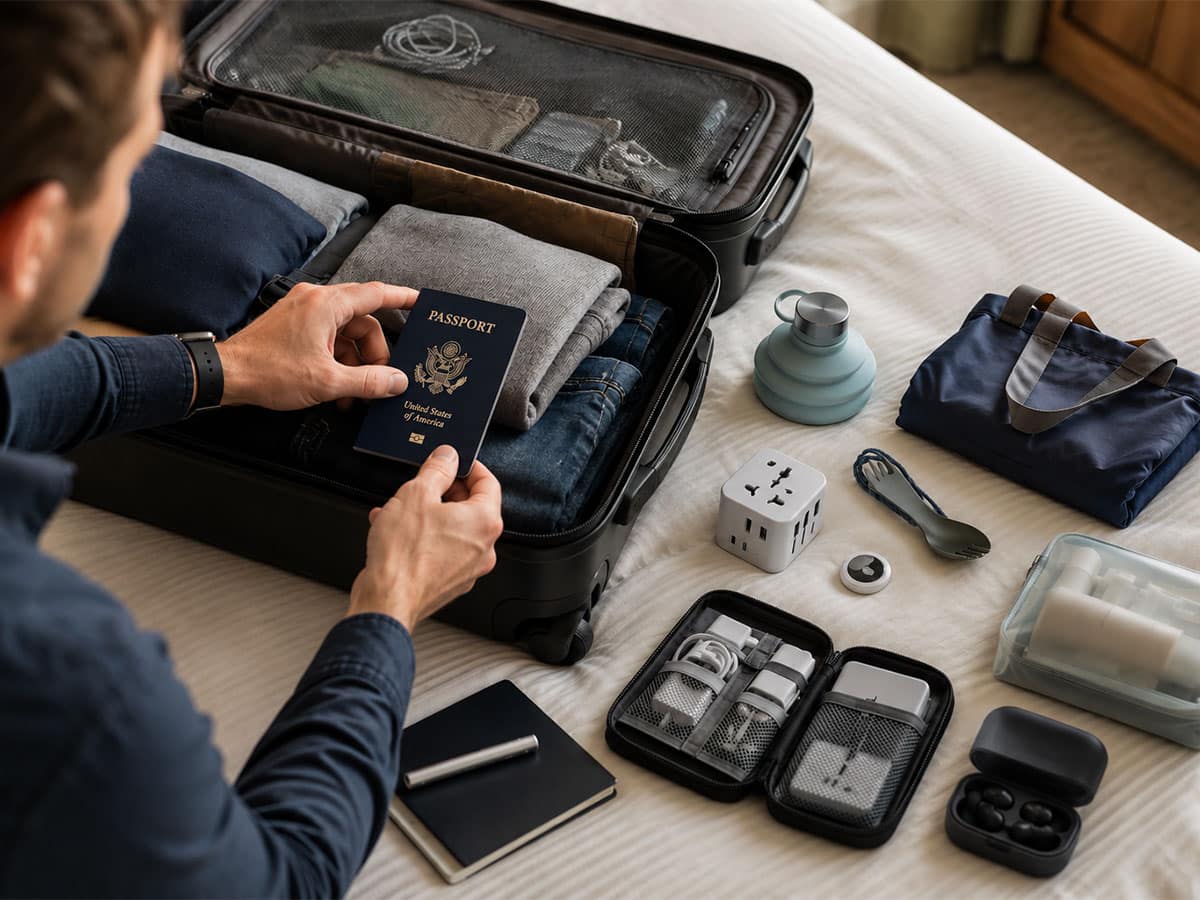
My advice: Do a five-minute digital check the night before your departure. Update your airline app, download your boarding pass, make sure your Known Traveler Number is attached to your reservation and confirm which ID you’ll need. Screenshot your boarding pass, too. Airport Wi-Fi and airline apps have an uncanny ability to stop cooperating at just the wrong moment.
2. Never Board With a Nearly Dead Phone
This is one of my biggest airport rules: Always make sure you board the plane with a fully charged phone.
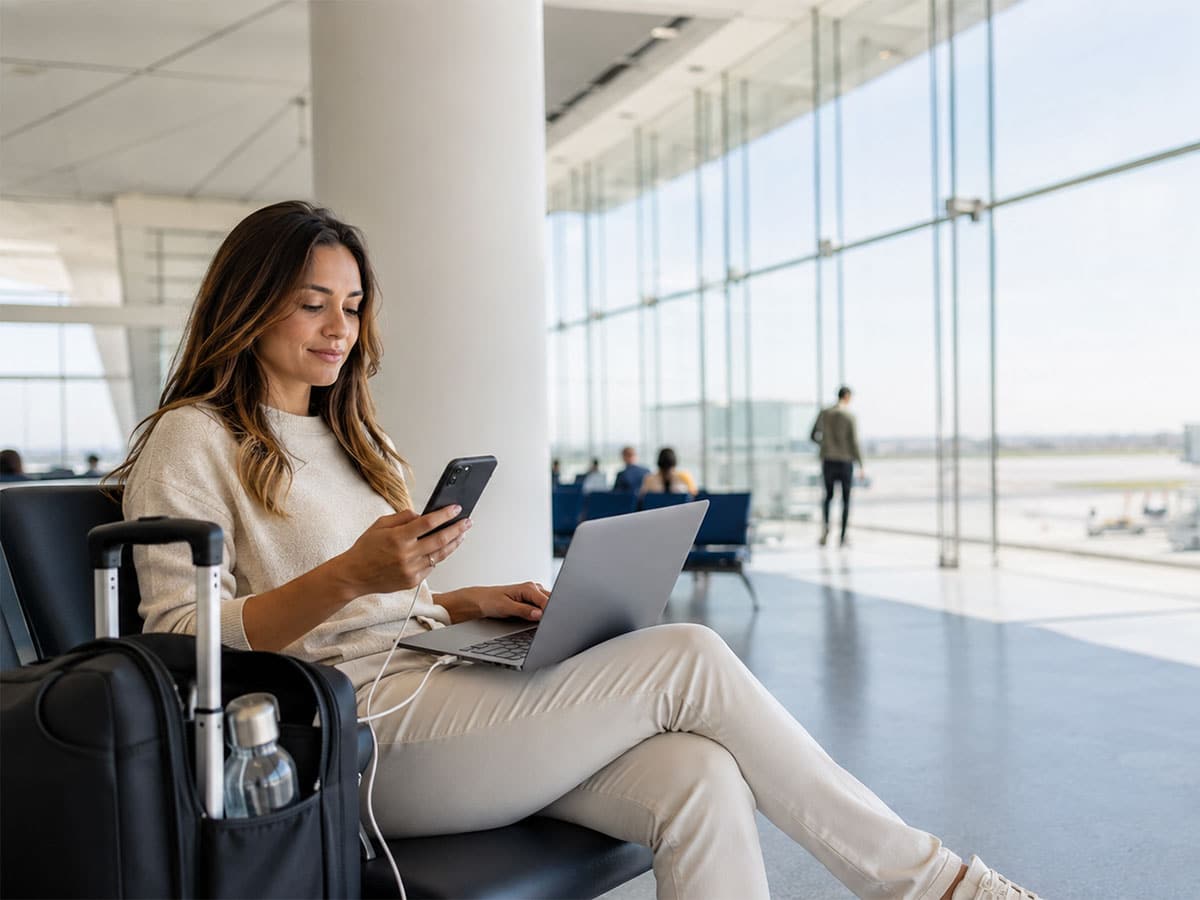
Your phone may contain your boarding pass, hotel confirmation, airline alerts, maps, credit cards and rideshare information. If there’s a cancellation or missed connection, you’ll probably need it to rebook. Landing with 4% battery isn’t just annoying anymore.
That’s why a portable charger is a no-brainer for me. I would never travel without one, and these days I throw one in my bag even when I’m running errands at home. I like the TESSAN portable charger because it has built-in cables and a foldable wall plug, which means fewer separate pieces to remember. But my favorite feature is that it has a digital display that shows you how much battery is left in your battery. The last thing you need is for your back-up device to be dead as a doornail too.
Remember: Power banks belong in your carry-on, not checked luggage. The FAA says spare lithium batteries, including power banks, must remain in the cabin. Lithium-ion batteries up to 100 watt-hours are generally allowed; batteries from 101 to 160 Wh require airline approval. If your carry-on gets gate-checked, remember to remove the power bank first.
3. Don’t Assume You’ll Find an Open Outlet
Airports have added plenty of charging stations, but frequent travelers know the drill: The outlet near your gate is occupied, hidden behind furniture or just doesn’t work.
That’s why I like equipment that lets me make the most of one available outlet. When I’m traveling with my family and we have multiple devices, this surge protector power strip can turn one outlet into a charging hub. But one of my favorite features is the flat plug. A flat plug makes all the difference with outlets tucked behind furniture or in awkward locations.
This USB wall charger/outlet extender is another useful option when you need to charge multiple devices in one place. I especially like this kind of set-up in hotel rooms, where conveniently located outlets somehow remain harder to find than they should be.
Chicago O’Hare is a good example of why it’s worth checking an airport’s amenities before wandering around searching for electricity. ORD has dedicated Power Stations with seating, counter space and AC outlets where travelers can charge devices for free.
4. International Travelers: Rethink the Adapter
I’ve become picky about international adapters because I’ve carried plenty over the years that felt like I was packing a brick inside my tote bag. But the TESSAN universal travel adapter I use is ultra thin (way thinner than any other I’ve used) so it takes up very little room in my electronics pouch.
It supports the common Type C, G, A and I plug configurations used across many international destinations and includes USB charging ports. Just remember that a plug adapter and voltage converter aren’t necessarily the same thing, so always check your device’s voltage requirements.
I keep my adapter, charging cables and portable charger together in my personal item. If my checked suitcase goes to Paris while I go to Philadelphia, at least my phone isn’t going to die.
5. Use the Airport Instead of Just Enduring It
A long layover doesn’t have to mean sitting at the gate scrolling through your phone. Some airports now offer sleep pods, private rooms, wellness areas, showers and dedicated workspaces. Figure out what you actually need: If you’re tired, look for somewhere quiet. If you’re stiff, walk or stretch. If you need to work, find Wi-Fi, a decent seat and power.
ORD again provides a good example. It offers free Wi-Fi and Power Stations, plus a Yoga Room in the Terminal 3 Rotunda with mats and space for stretching and meditation. The airport also lists water-refill stations throughout its terminals, so I always travel with an empty reusable bottle and fill it after security.
6. Traveling With Kids? Research the Airport Like You Research the Hotel
I recently went behind the scenes at Chicago O’Hare with my family and it revealed to me how many genuinely useful airport amenities most passengers walk right past. O’Hare has a Family Lounge in Terminal 2 where kids can burn off energy, along with family restrooms and nursing facilities.
One of my favorite discoveries was Storytime in the Family Lounge on Tuesdays and Thursdays. We also learned more about Travelers Aid, sensory resources and other services that can make a huge difference when you’re navigating a massive airport with children. ORD even offers sensory bags and participates in the Hidden Disabilities Sunflower program. These are exactly the kinds of services travelers may never know about unless they do a little homework before leaving home.
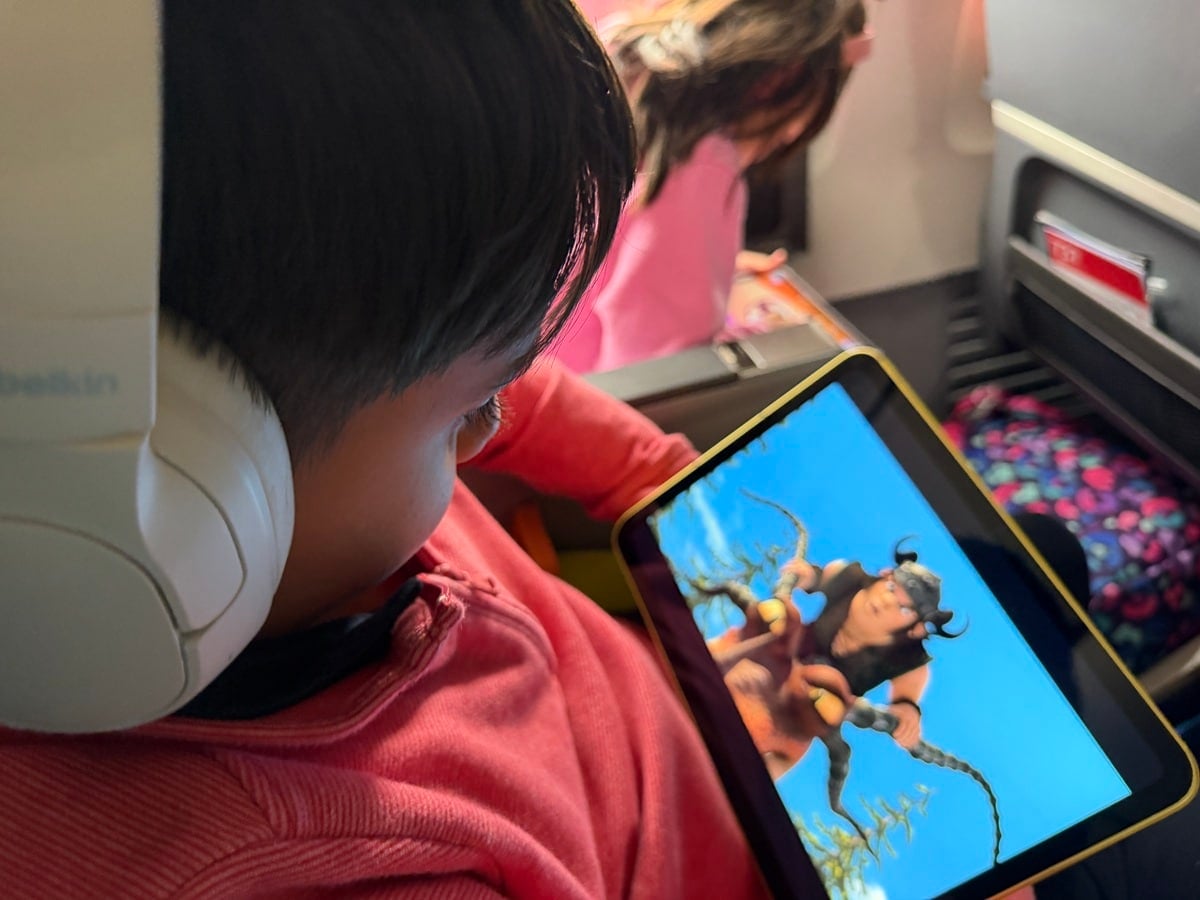
The lesson applies at any airport: Before a family trip, search your connecting airport’s website for terms like “family,” “play area,” “sensory,” “nursing” and “family restroom.” Ten minutes of research at home can save an hour of misery in the terminal.
Before You Head to the Airport
The night before your flight, take five minutes to check the airport’s website along with your airline app. Find your terminal, see what identification you’ll need, locate charging stations and water-bottle fillers and, if you have a long layover or are traveling with kids, look up the amenities near your gates. Download your boarding pass and charge your phone and portable battery overnight.
A little preparation at home means fewer things to figure out once you’re at the airport and more time to get where you’re going.